3D Walk Cycle and Bouncing Ball
- Mar 30, 2020
- 2 min read
Updated: May 9, 2020
Process:

The first step in the 3D Walk Cycle process was to place the textures on the model.
To do this I had to connect the normals to the model using file directories.

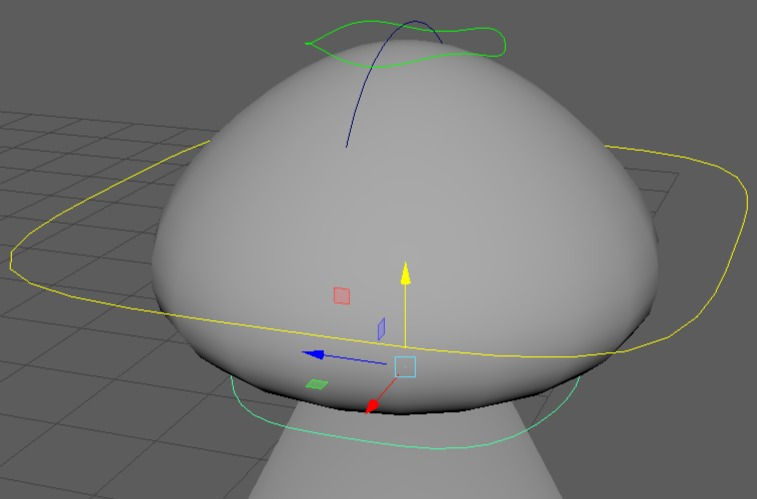
Once the textures are on the model I was able to focus on creating the animation by grabbing the movement nodes to move the model and place it in the positions for the first frame of the animation.

Then once every part of the model is in the right place you must make sure all the nodes you have moved are selected and then you press S to set a key frame for all the nodes on the animation time line.

From here you work out the opposite of this and place it at the next frame that makes sense. As it is normal to take 2 steps per second and we are making a 24 fps animation I then put the opposite key frames on frame 12. Then to ease the work load you can return the current frame to frame 1 and copy the node positions and paste them on frame 24 so the animation loops.

Finally, you make the animation smoother by grabbing the nodes on frames in between, e.g. frame 6 or 18, and working out how the legs and arms would really be instead of how they have moved currently.
Process for Ball Bounce:
The process for the ball bouncing is much simpler than the 3D walk cycle but it follows some of the same processes. Instead of moving nodes you are transforming the ball and moving it into the next frame position. I decided to place some obstacles that the ball would interact with and and "squish" on them to add life to the ball and animation.

Ways to Improve:
To improve i could try to place more key frames in between to make the animation more smooth or go over the current ones making sure they're in the right places.


Comments